Here at 3rd Rail HQ we’re really excited to announce the start of what will become a series of collaborative projects designed to utilise some of our most exciting and innovative in house printing and customisation techniques. The final package produced in a limited edition will include a bespoke screen printed t-shirt and fine art print all packaged in style in a screen printed box. As well as being available to purchase via our 3rd Rail Presents online store we will also be offering plenty of chances to win one of these exclusive sets. To be in with a chance of winning make sure you’re following us on Instagram, Twitter and Facebook where we will also be posting regular progress updates and sneak peeks of how we’re getting on.
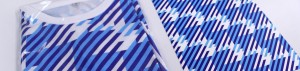
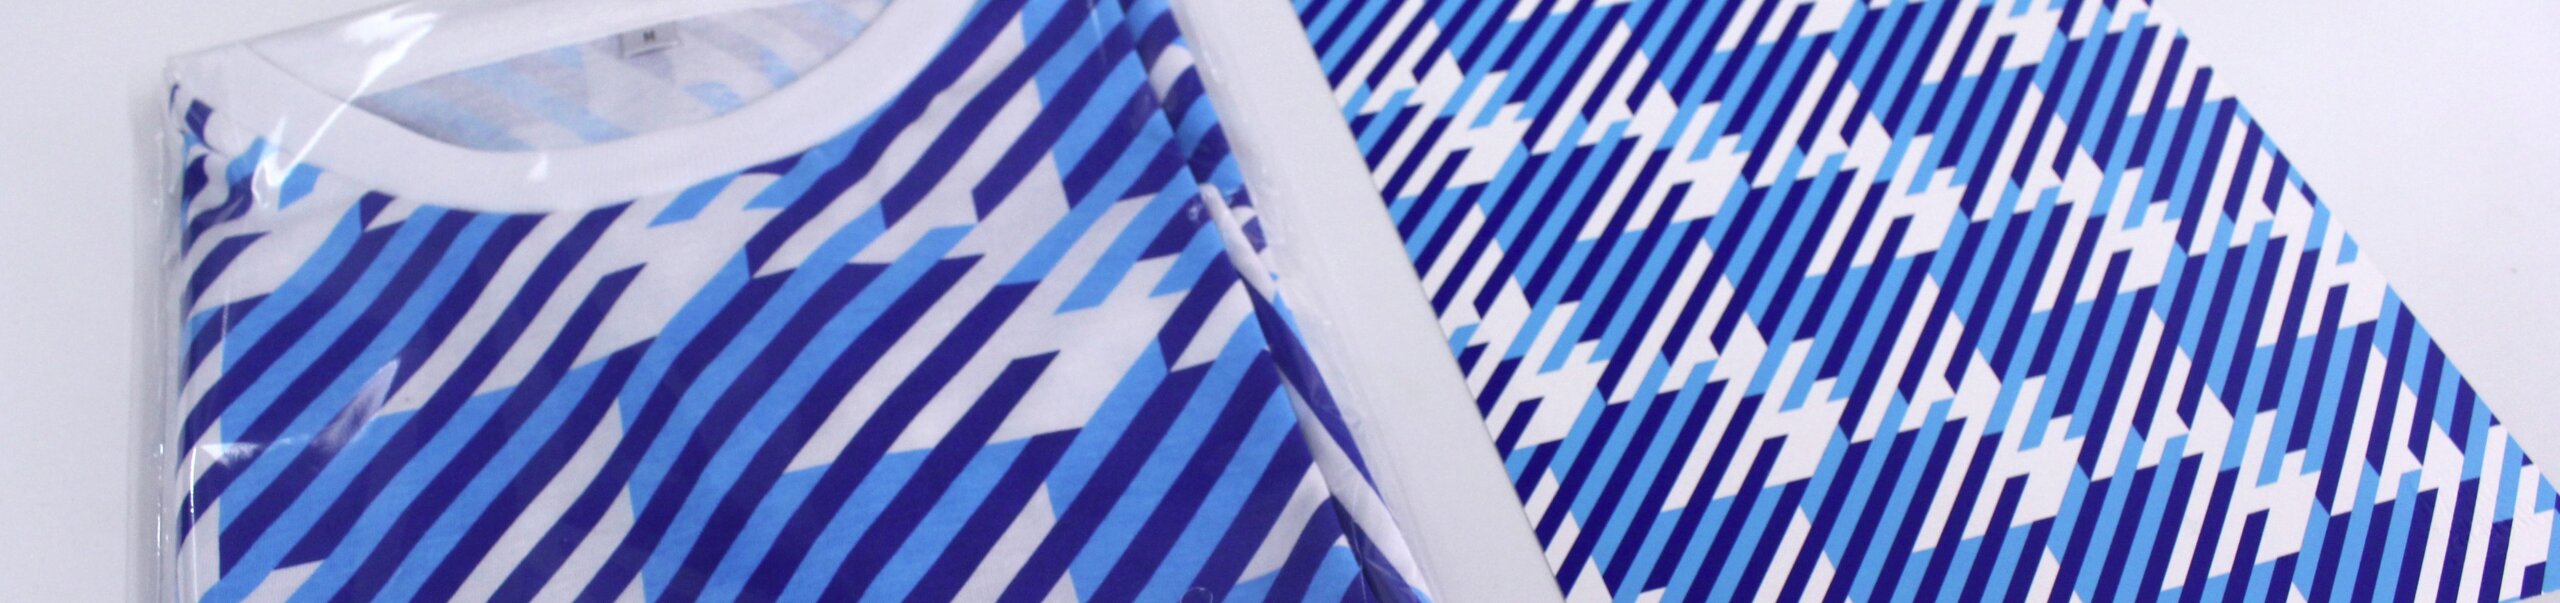
Our first collaboration is with design studio The Pattern Guild, a Peckham resident predating the mass migration of creatives to this area. Their huge arsenal of decorative geometric prints and striking timeless patterns makes them the perfect candidate for this project. They kindly designed a 3 colour print and our aim is to ensure the final garment accurately represents the intricate repeat pattern whilst also making a statement and being respectful of The Pattern Guilds aesthetic.
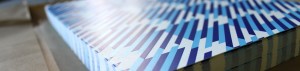
All over printing is often a solution in terms of making an impact with printed t-shirts however since The Pattern Guild is studio which prides itself on making beautifully crafted products we wanted to emulate their approach when tackling this project. By printing onto sheets of fabric from which a t-shirt pattern can then be cut we’ll benefit from perfectly registered multiple colours. Never ones to sacrifice the quality of the finished garment this is a natural route for us to take.
The artwork preparation process wasn’t dissimilar to how we normally do things however extra care was taken to make sure that the surface area was large enough to incorporate the garment pattern with seam allowance. We also added a clip to the artwork (an area of overlap between colours) as a preventative measure since working with a precise, multi layer design can sometimes complicate registration. Finally we used Photoshop to separate the design into channels making sure that each one was 100% black. This step combined with the custom settings on our printer guaranteed an excellent quality film.
The screens have just been exposed and prepped meaning we’re all set to tackle the next production stage which involves amongst other things, pattern cutting and printing the fabric panels.